Rotating Single Origin Highlight: March
Hello Again! For the month of March we have chosen to highlight a colombian coffee using a chemex brewing method.
Farm:
This coffee comes from the best beans from three different farmers Rodrigo Sánchez, Aida Leany Samboni, and Felix Maria Samboni all based out of Huila, Colombia.
The coffee is part of a new blockchain system that tags the coffee at farm and each location along its path. For more info on IFinca, the importer platform and the farms this coffee comes from, visit the iFinca page @ https://associates.ifinca.co/cafe/Cafe5575852
Felix Maria Samboni. and her family. Provided by iFinca
Sánchez has 18 hectares and uses a variety of different processes including washed, honey and natural. Aida Samboni has 8 hectares and uses one varietal of which is Caturra. Typically he uses a washed and natural method of processing. Samboni plants orange, tangerine, avocado and guamo trees to provide shade for the coffee as well as enjoy a nice snack. Felix Samboni has the largest coffee space with 20 hectares and four different varietals: Bourbon, Castillo, Caturra, and Geisha. Felix uses three processing methods of washed, honey and natural depending on the weather conditions. All three farmers come together to choose the best beans to send off.
“During the harvest we always choose the coffee that is of the best quality, so we only collect the coffee that is 80% ripe, thus producing an improved cup quality.”- Felix Maria Samboni.
Roast style
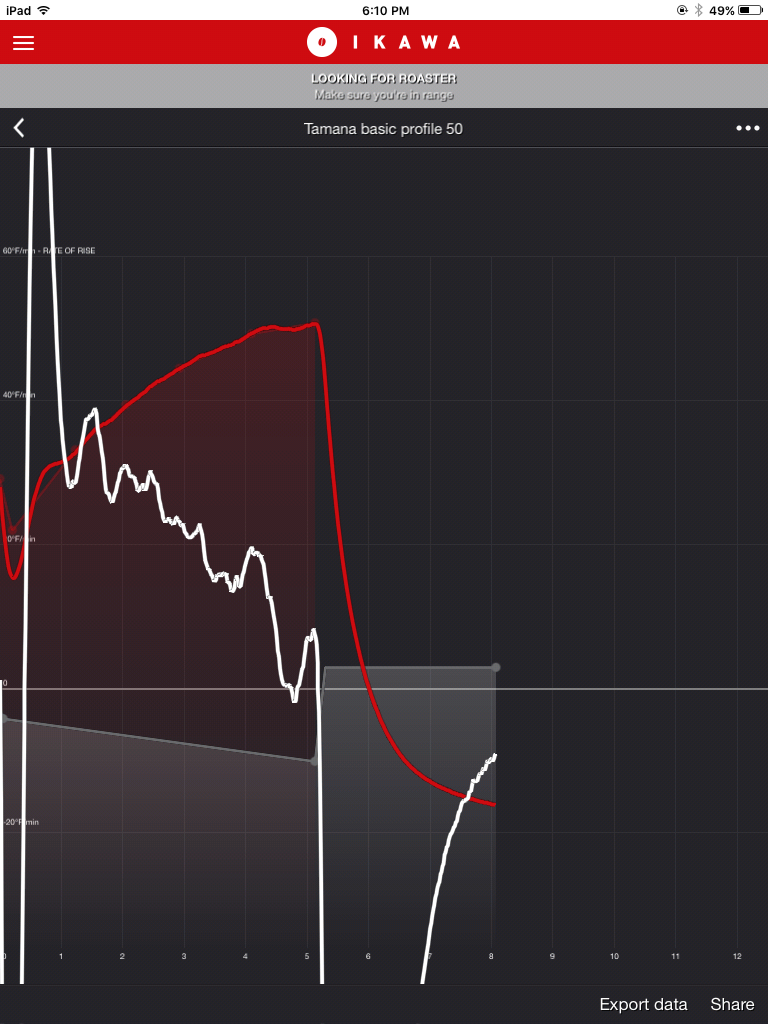
We knew this coffee was gonna be a gem just based on the samples we received and roasted with the Ikawa, so we really wanted to focus on a great roasting curve for this particular coffee. For cupping most all samples, we use a profile published on Ikawa website, created by Tim Wendelboe, specifically for evaluating high altitude grown, dense arabicas. The roast graph is shown below. For those not accustomed to roasting curves, the red line is the most important thing to note and is just a simple plot of the temperature** of the coffee during the roast process as a function of time in seconds..
**ok ok, so it's actually just an approximation of the coffee bean temp, go find Scott Rao if you want to flex your coffee knowledge :^)
Two things we noticed from the sample roast was how much cooler the turning point was from the preset profile.(a slightly thinner red line, you can see at around 15 seconds into the roast). Also notice that at first crack the beans actually lost temperature and drove the curve slightly downward at around 4:15ish. Having your actual coffee bean profile deviate from your preset profile occurs all the time and doesn't necessarily mean anything about the quality or flavor of the coffee. What we took this to mean, however, was that the bean probably had a higher moisture percentage than the typical coffee this curve was meant for as the beginning and just after the first crack are both times when a lot of moisture is exiting the coffee.
To verify this , we measured the moisture and density of the coffee. Compared to some of the other coffees we are currently roasting, the moisture was indeed quite high at 12.3% and the density was about average at 850 g/L. Keeping this in mind we roasted 2, 12lb test batchesto start. The coffee samples cupped really nice, very sweet while displaying acidic fruity flavors like yellow plum and tart cherries. I wanted to keep these flavors but also add some complexity and add a little more body to the flavor profile. We knew we would need a bit more energy at the start of the roast as well as enough energy going into 1st crack to compensate for the high moisture content. Keeping these things in mind, here are the two test batches we roasted:
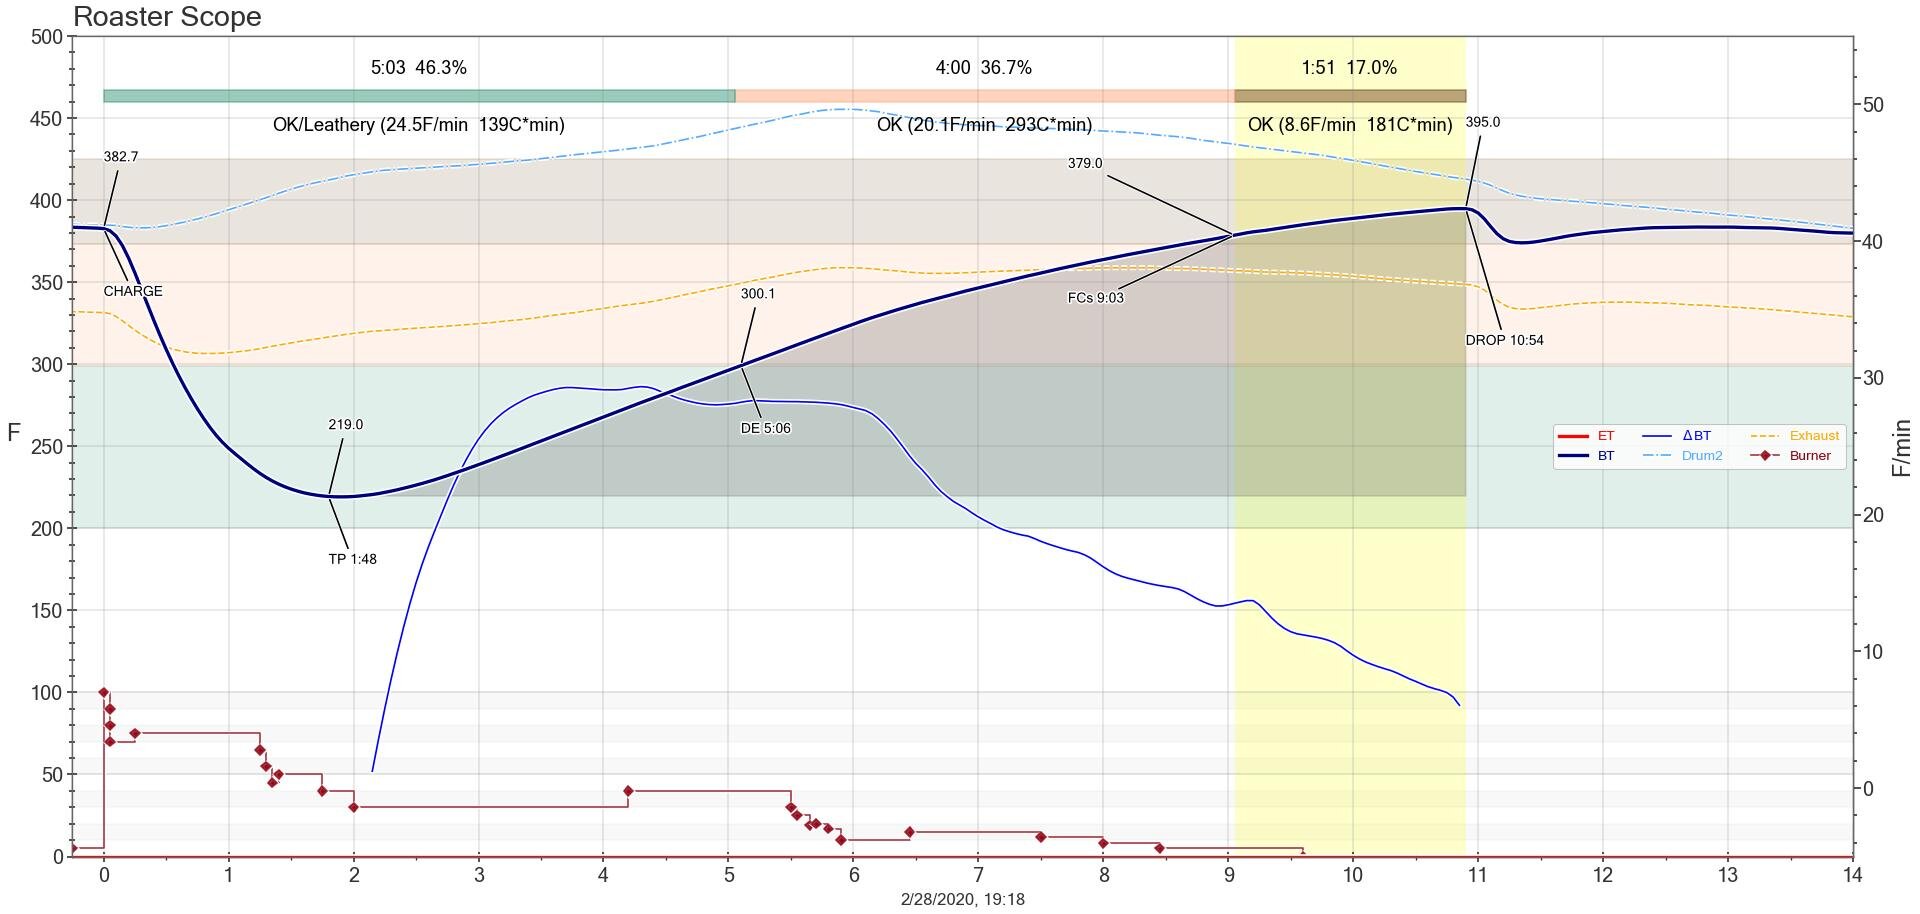
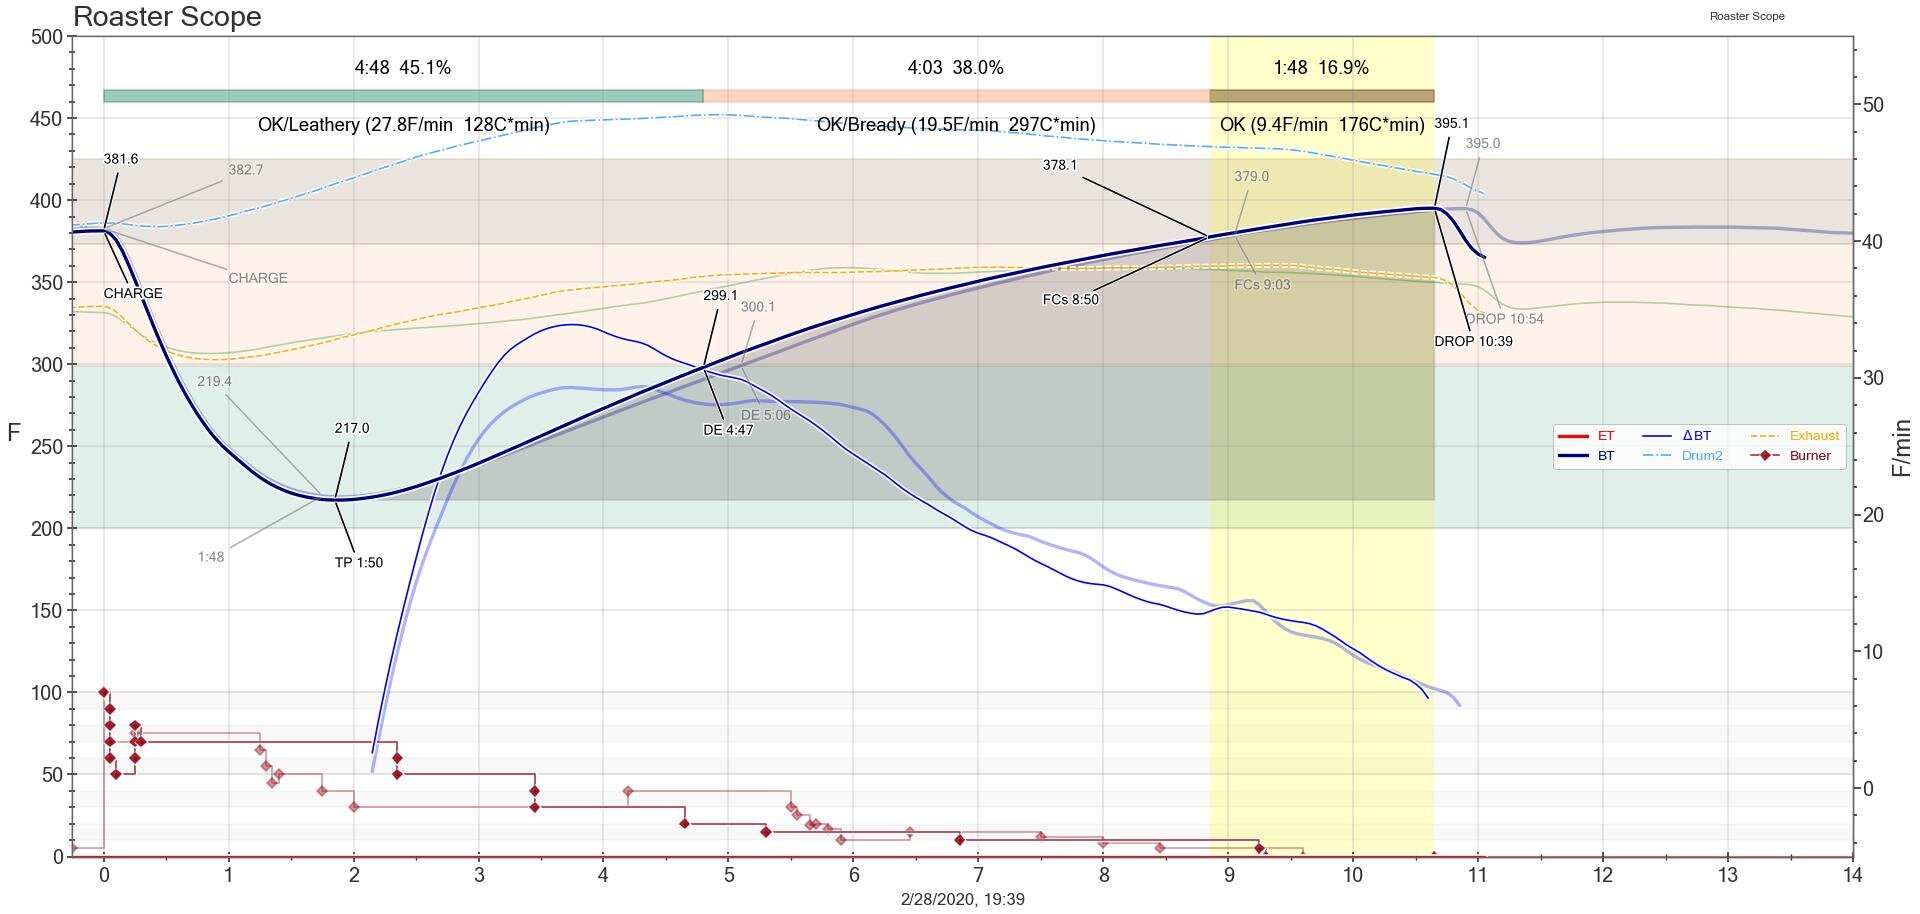
Don’t get too into the weeds with the graphs as these contain a lot more information than the Ikawa graphs. Basically, what we are interested in is the blue bean temp line as a function of temperature and time. Looking at both graphs we see that the second batch finished a full 30 seconds shorter than the first roast, while also finishing at approximately the same temperature. We let the coffees sit for 3 days, cupped them and evaluated both. While both samples exhibited more complexity and body than the Ikawa samples, the second sample had a stronger fruity aroma with more sweetness and intensity of flavor. We decided to use this profile as a road map for further profiles.
Brewing Method
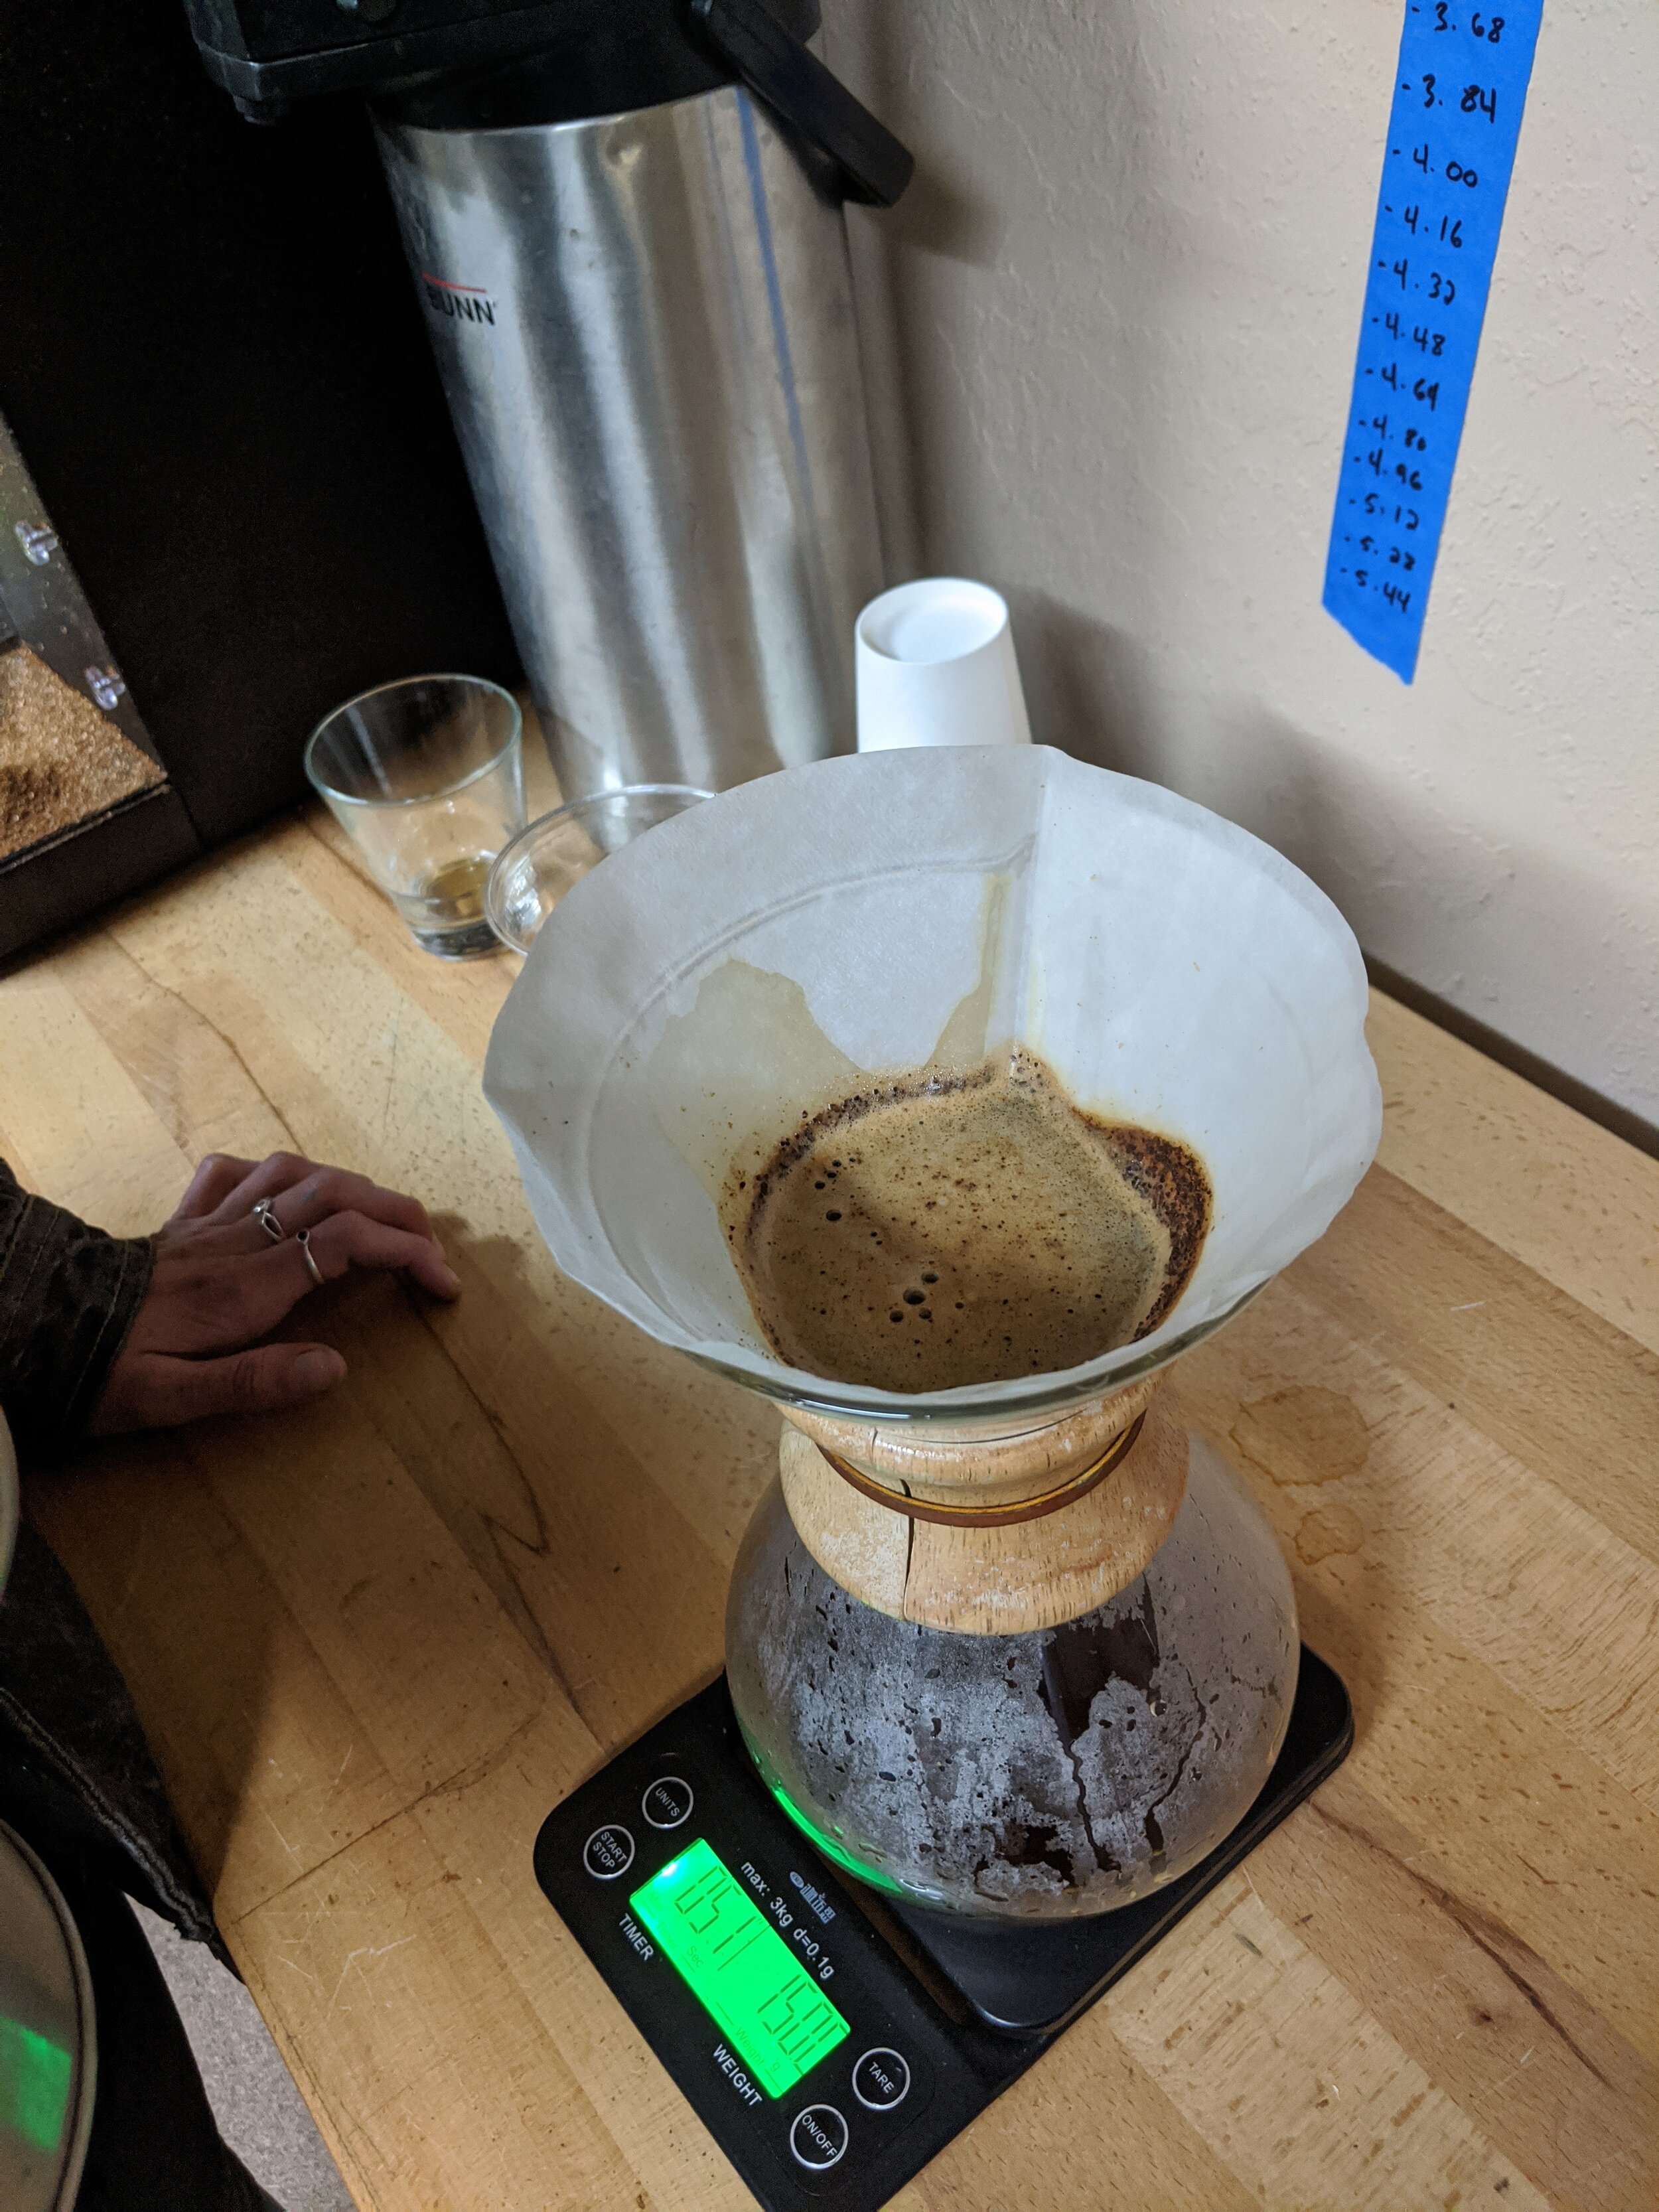
This month we decided to use a chemex brewing method to capture the sweetness alongside the bright fruity notes while keeping the flavors clean and well defined.
The Chemex was created in 1941 by chemist Dr. Peter Schlumbohm PhD, while he created multitude of different devices for all sorts of easier functionality the chemex is one of his finest coffee related inventions. With its hourglass shape which is pleasing to the eye, the angles and heatrention for brewing is best when desiring a clean and simple brew. Chemexes tend to highlight floral and bright notes in coffees. With its sleek design it holds a permanent spot at the MOMA art museum.
What you need:
Chemex brew container
Chemex Filter
Grinder
30g of coffee
Hot water just off the boil (about 205°F)
Scale
Timer
Stir stick
Mug
Processes
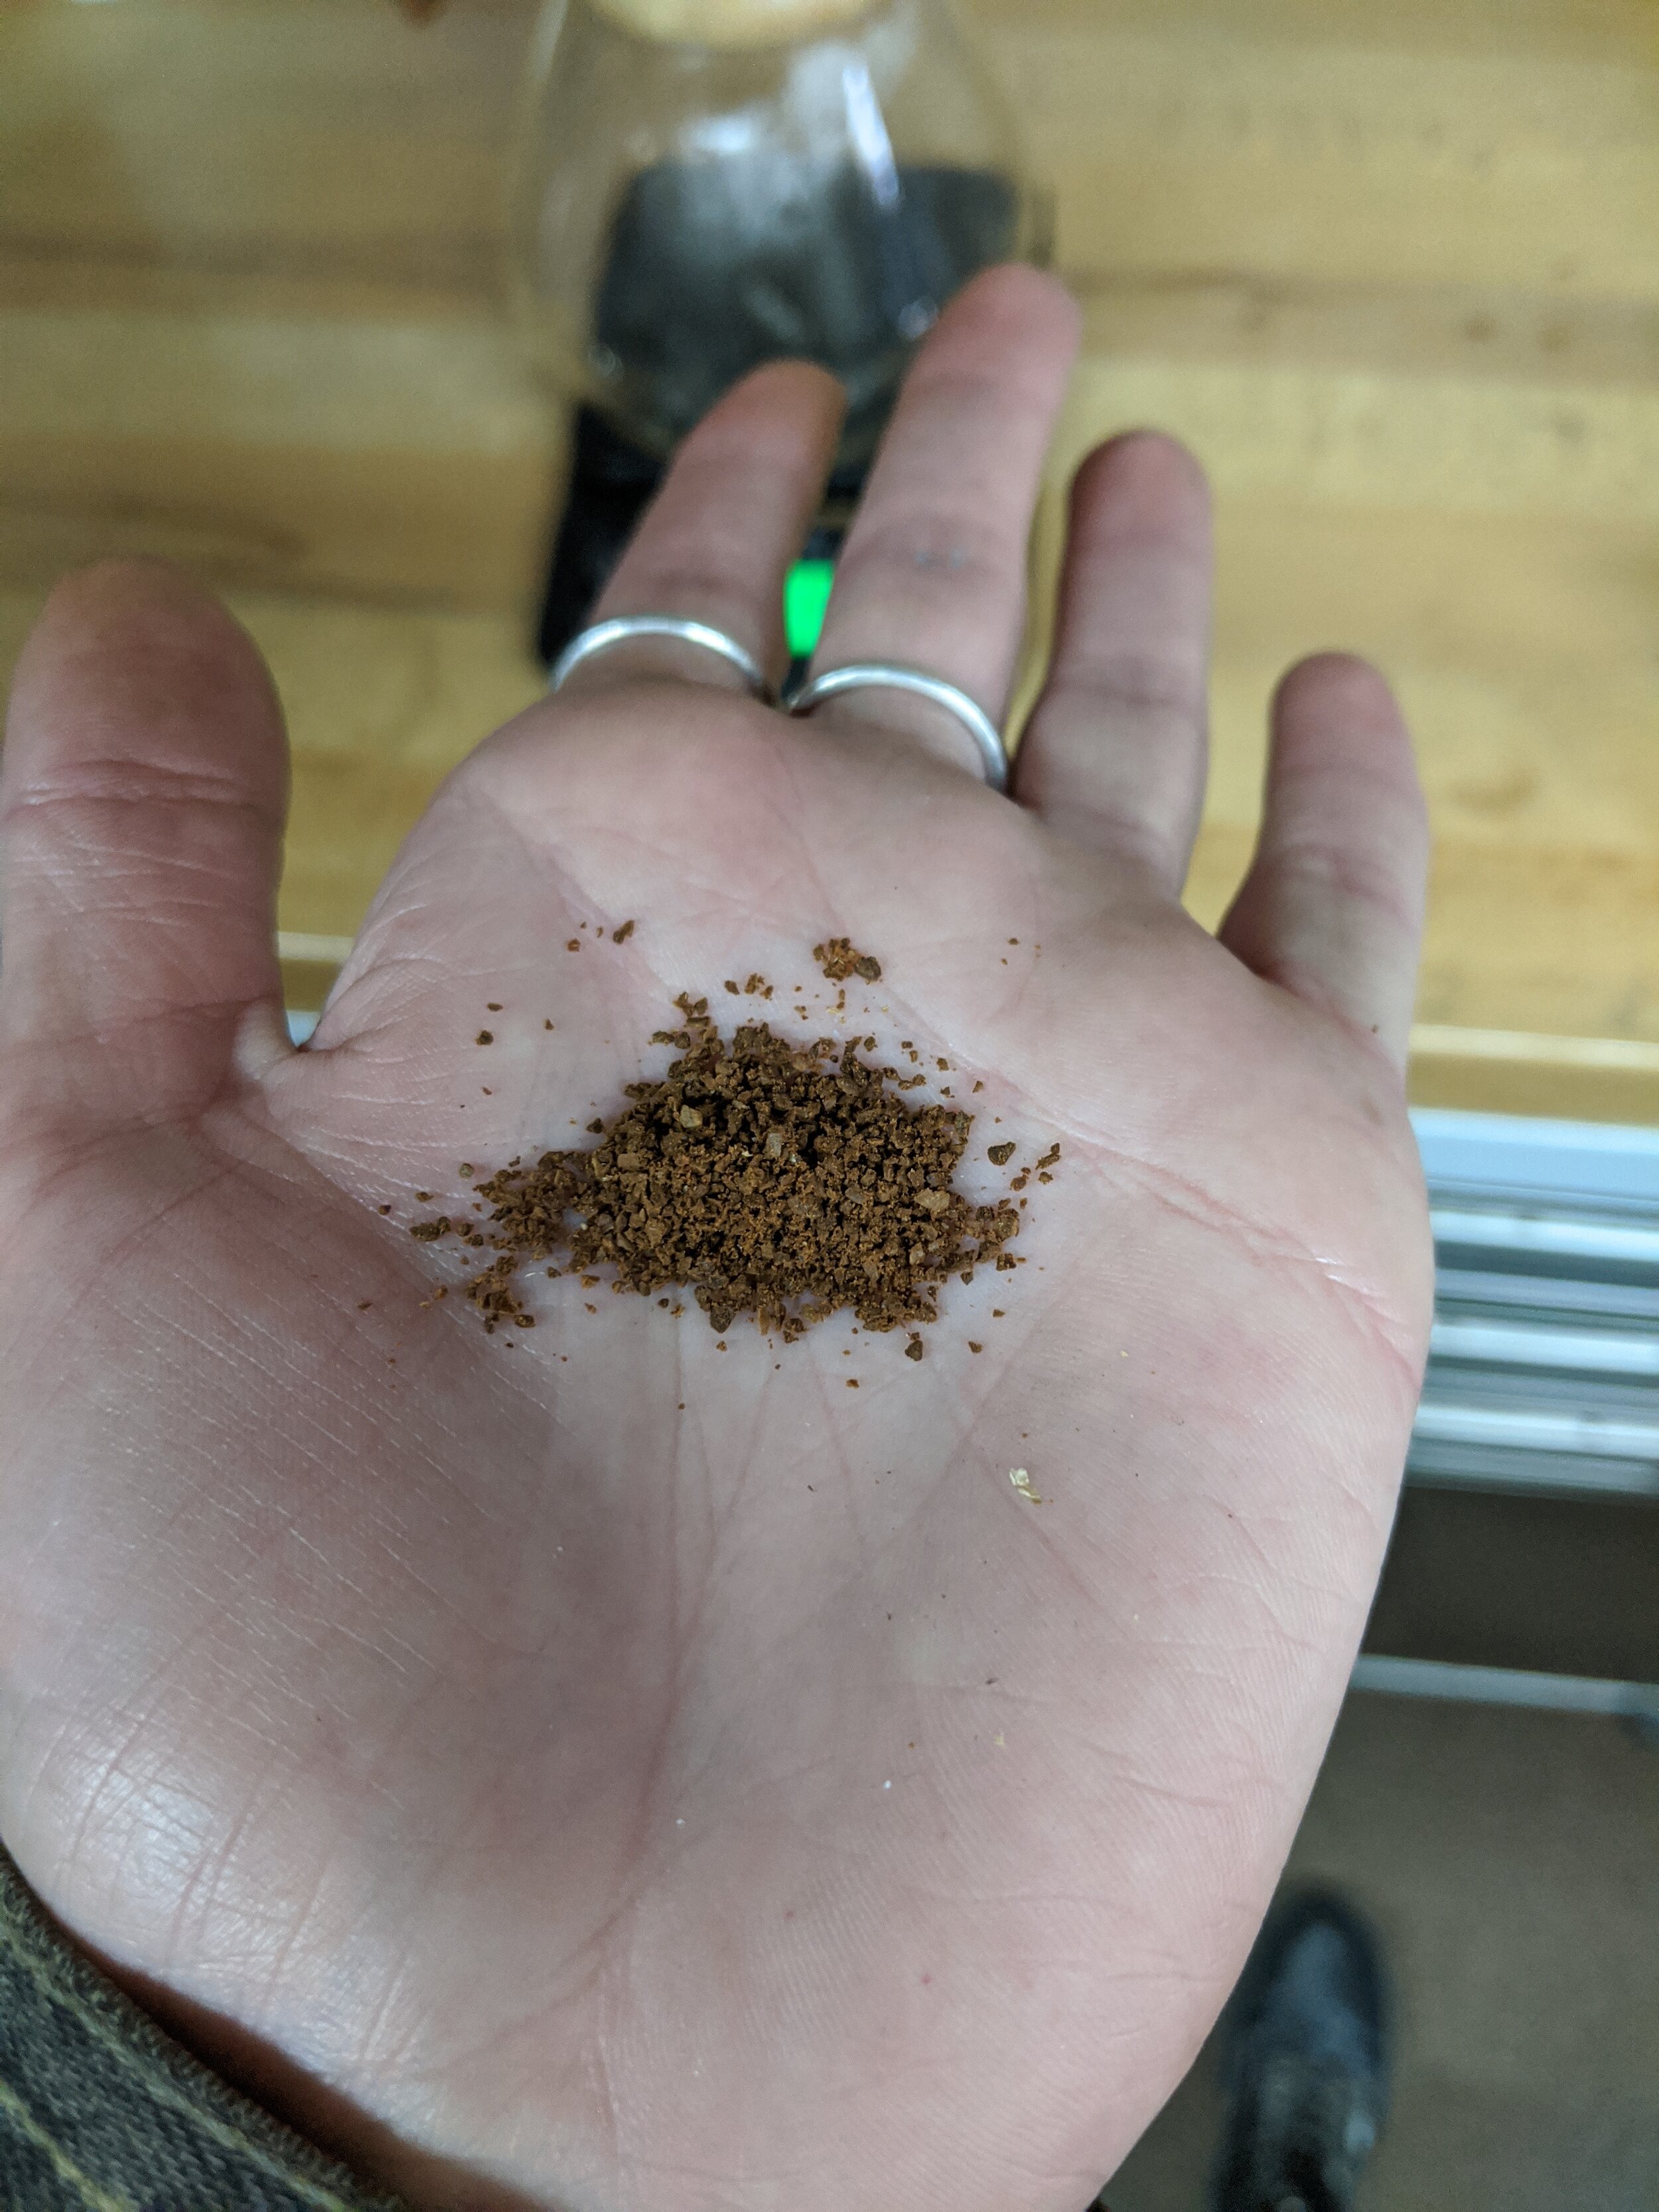
Grind size is in between table salt and kosher salt depending on the grinder, the setting will vary from home to home. We found that using a 1:16 ratio of coffee to water worked best for this roast and coffee.
Prepare set ratio of 1:16 for example 30g of ground coffee to 480ml of water
Grind between 5-0 min before brewing to ensure all flavors stay inside the cup
Pre wet the filter to remove any papery taste and to preheat chemex
Add coffee grinds to filter in chemex making sure the coffee is level across
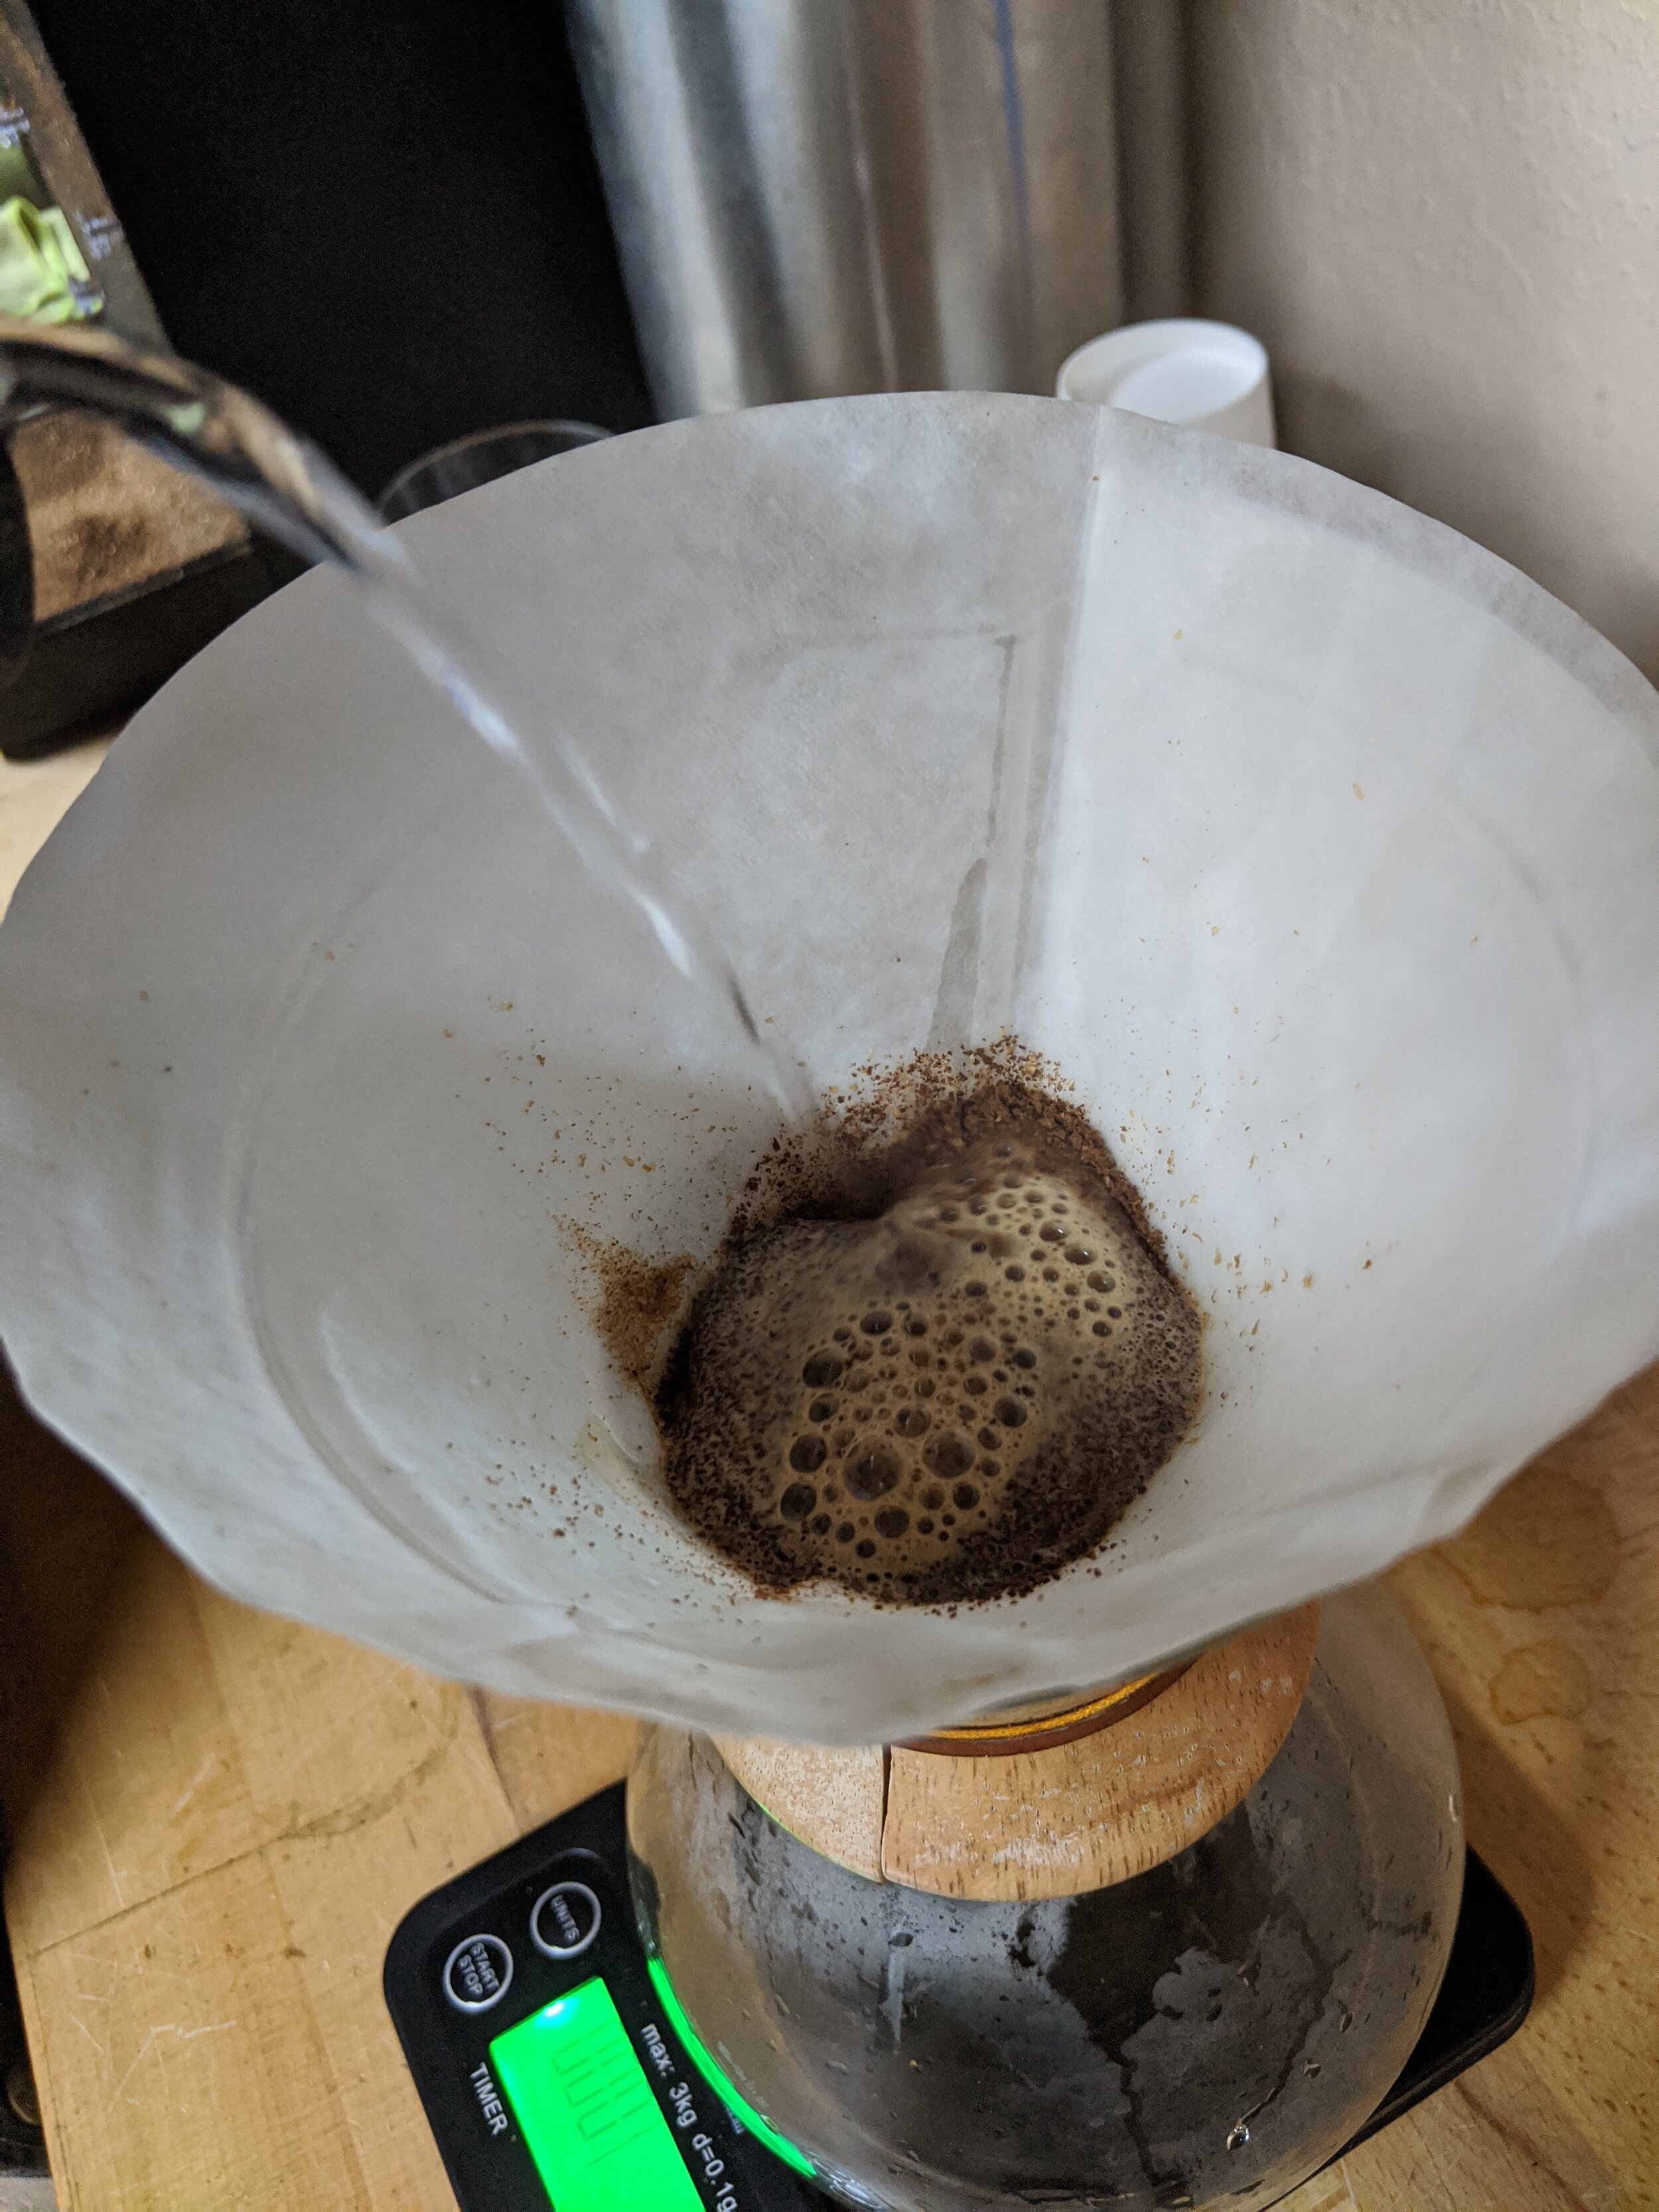
Add 60-80ml of hot water (198-205°f) to the grinds until fully wet
Stir or swirl coffee bed to ensure no dry coffee is present
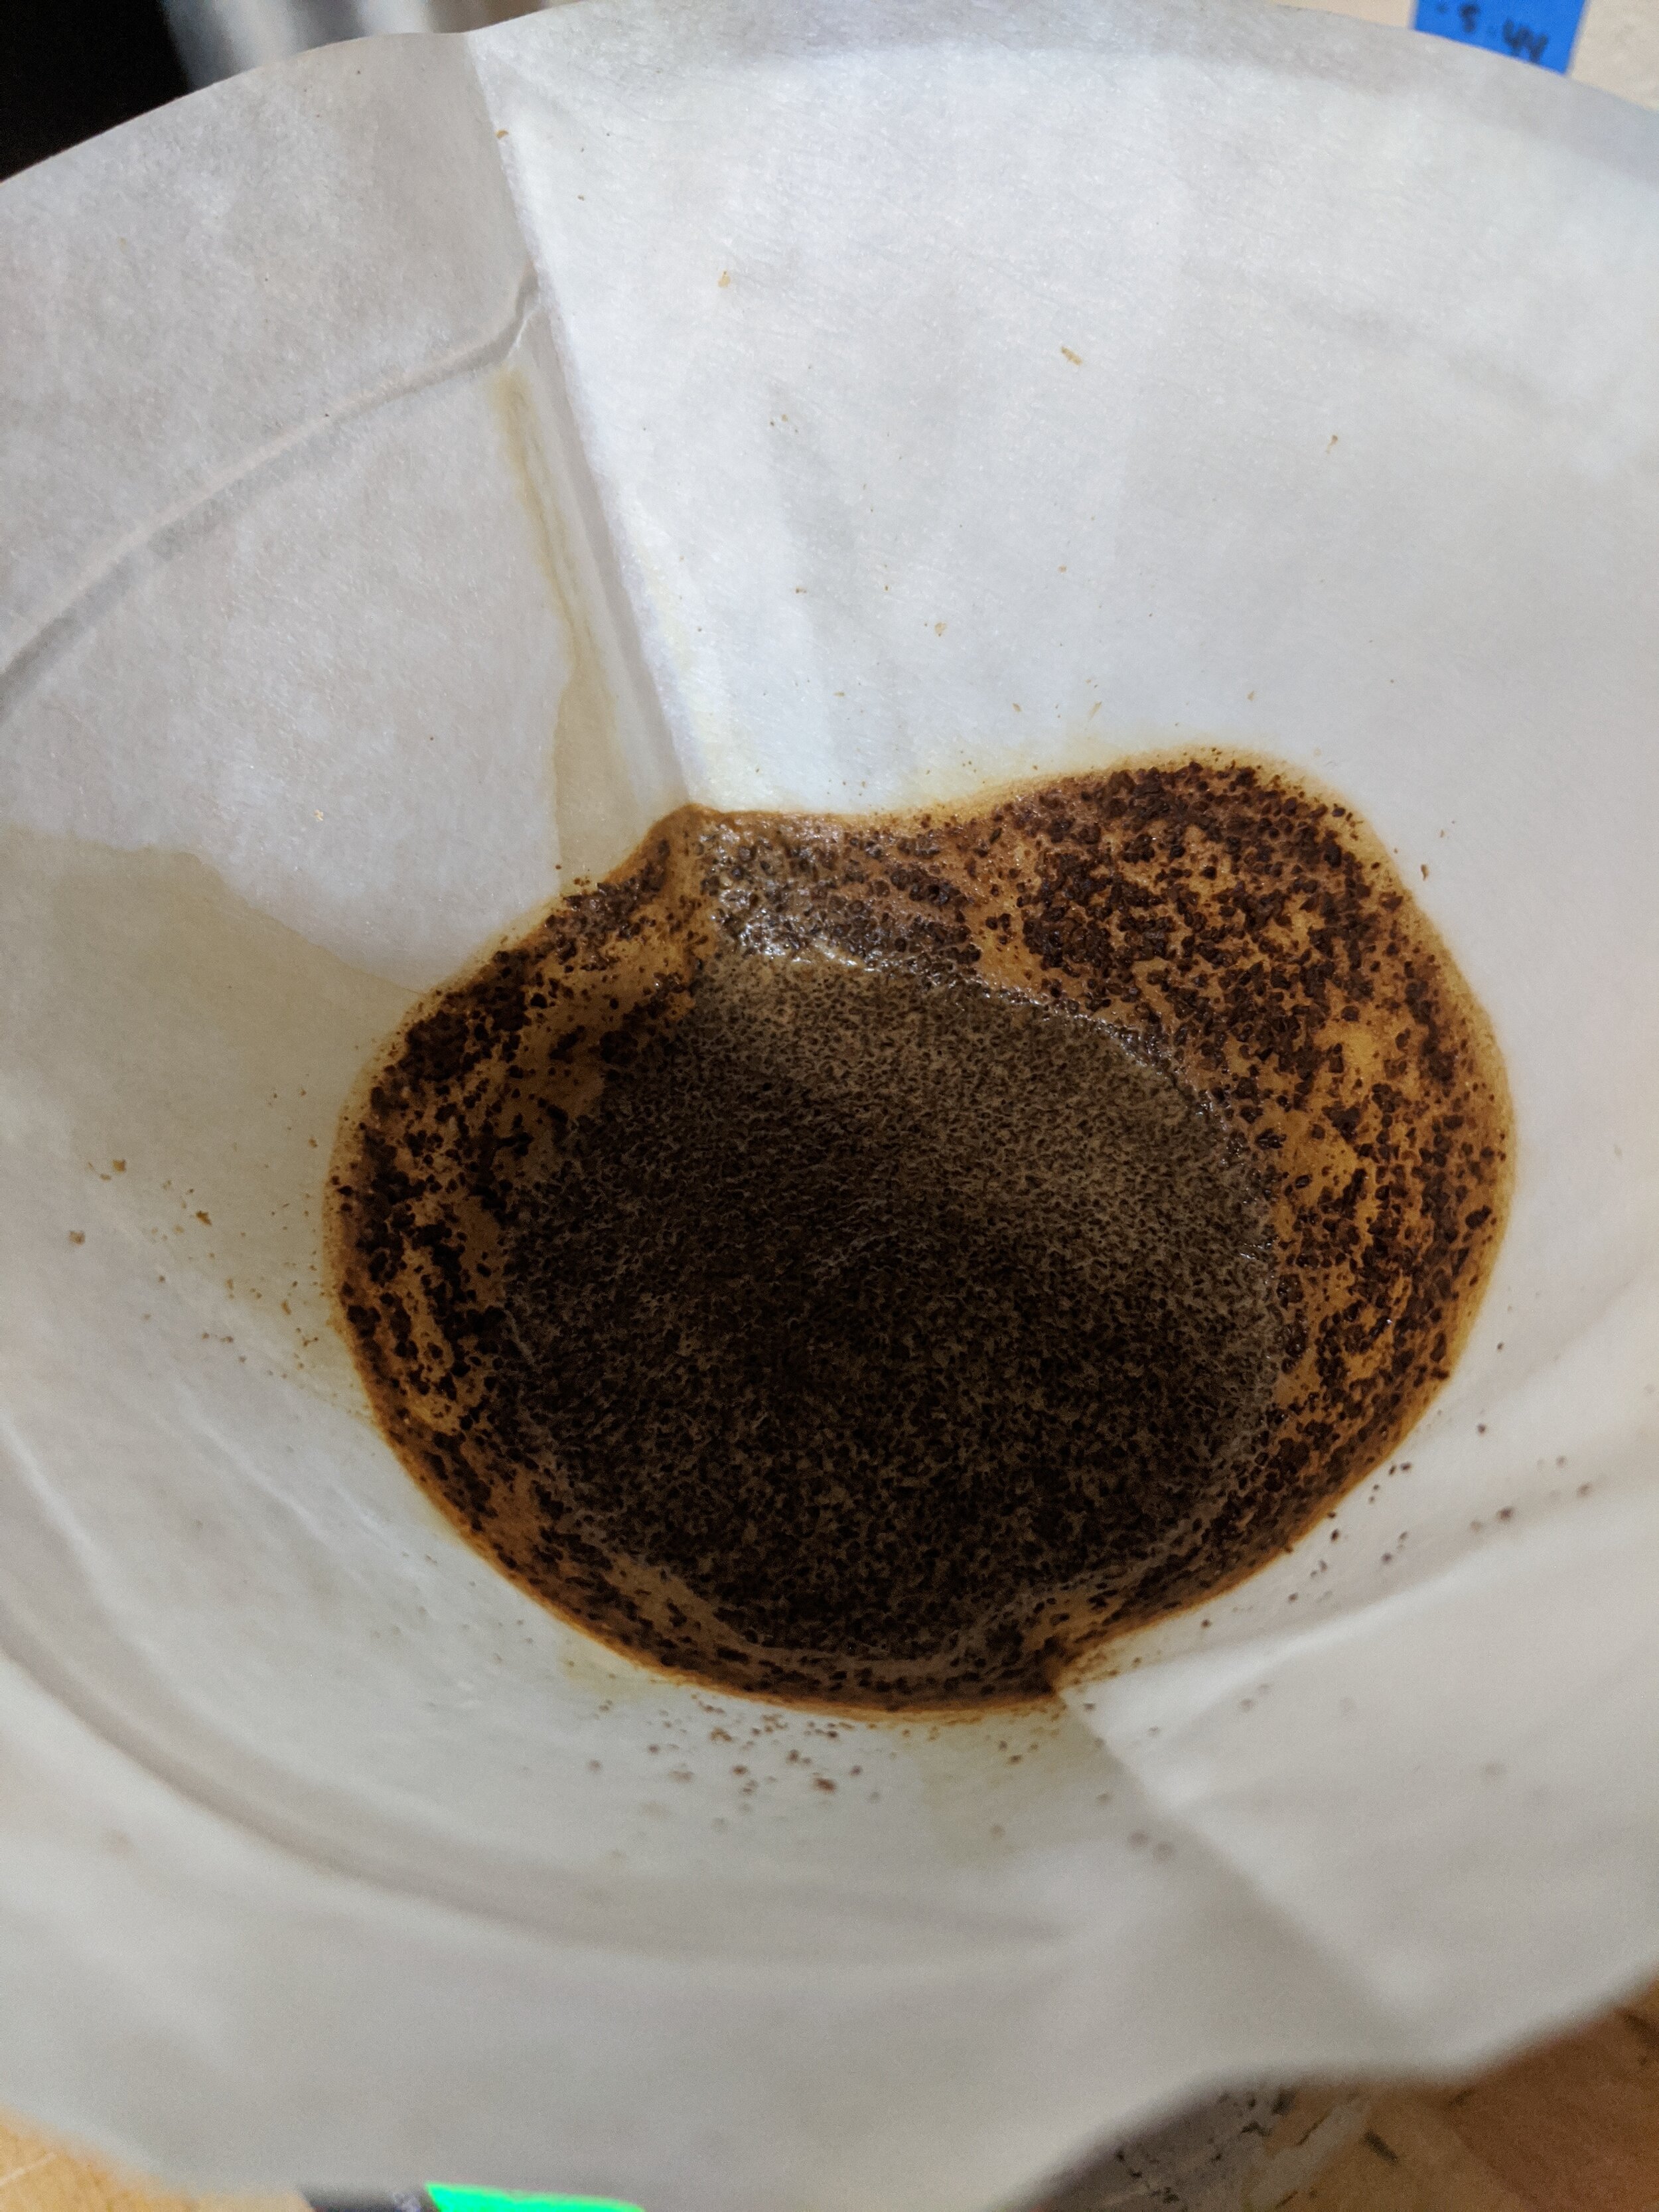
Let bloom for 25-40 sec depending on roast and freshness of coffee (this helps all the oils and acids within the coffee to be released)
Stir or swirl coffee bed to ensure no dry coffee is present
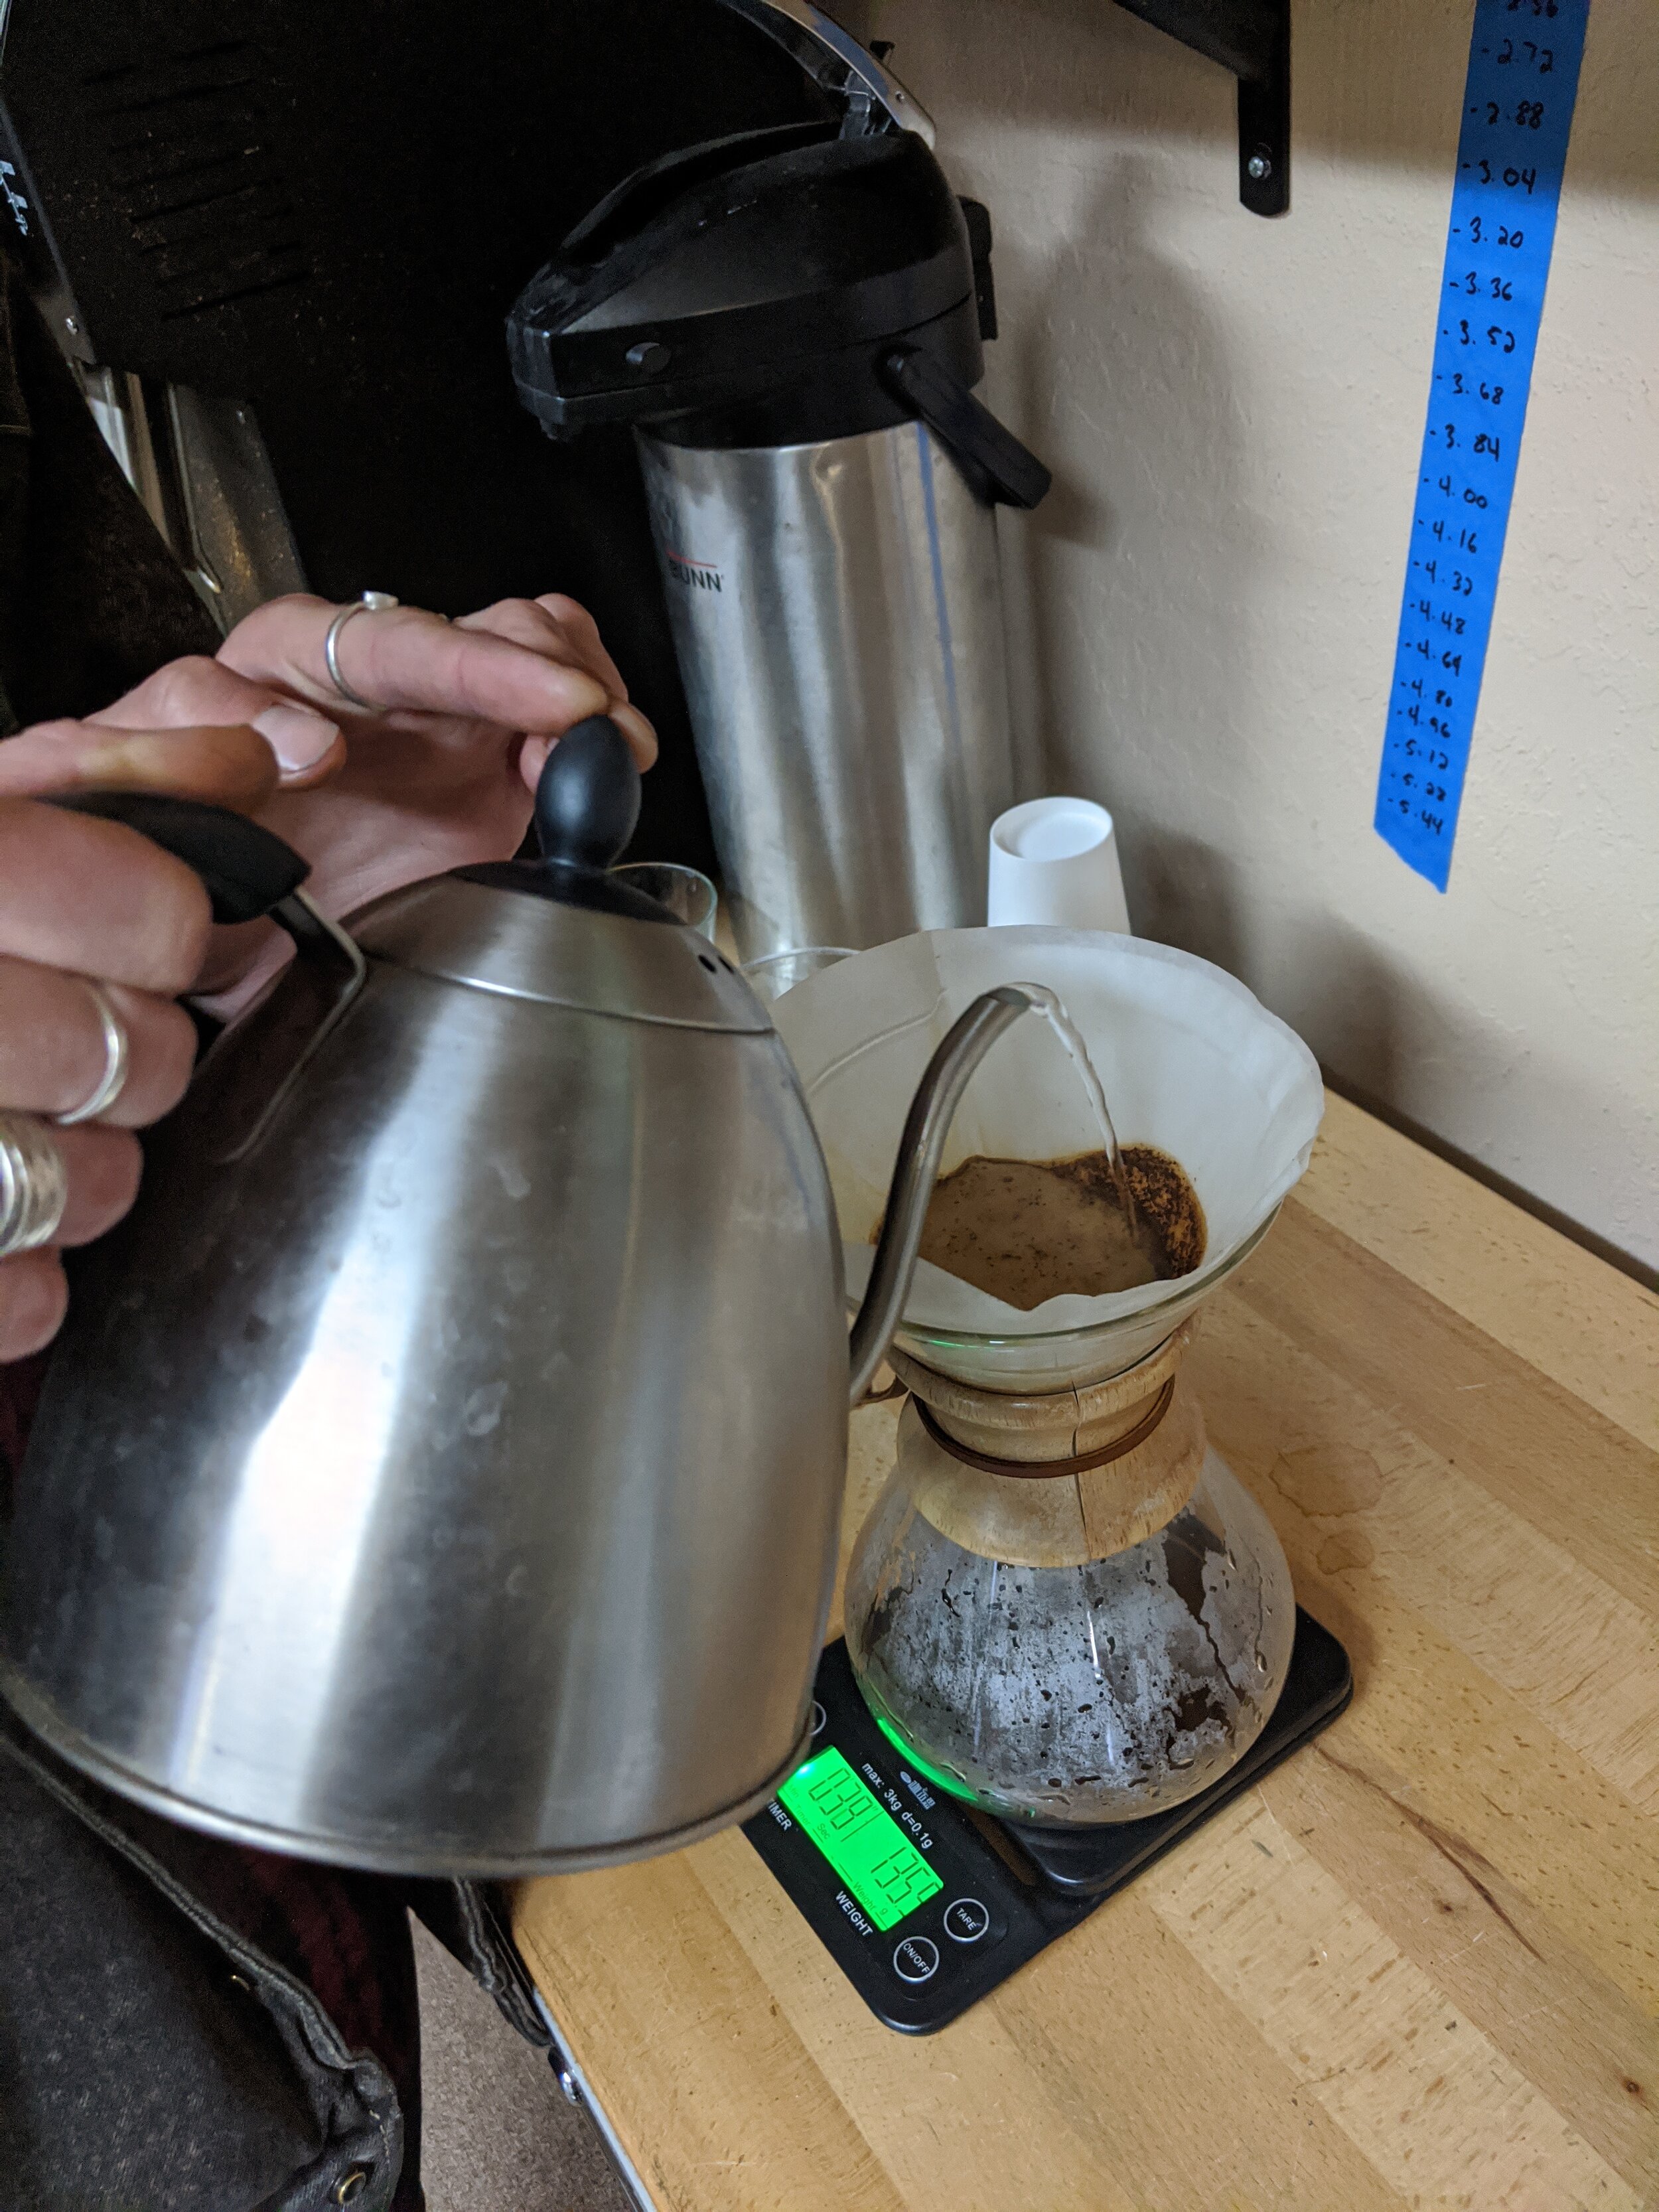
After the bloom Pour counter-clockwise.( This will create more turbulence in the coffee bed which will create better extraction.) In a continuous motion at a constant rate until desired gram outage is achieved
Slowly add water until scale reads desired outage (no pauses besides bloom pause)
End time should be anywhere from 4min-5min depending
Swirl, Pour and drink!

Tasting Notes
The tasting notes on this coffee using a 1:16 ratio at a 4 minute 55 second brew time is as follows:
Jasmine
Honeysuckle
Grapefruit
Orange
We also tried a 1:16 ratio at a slightly coarser grind and found that the brightness in the cup wasn't as present and it lacked depth but some different flavors were achieved:
Red wine
Sweet plum
Milk chocolate


